Last updated November 18, 2026
Free written scope consultation - allowances, timeline, and change-order rules on paper before a single trade is scheduled
Driveway & Pavers Maintenance Checklist for Aventura Homeowners
Efflorescence is the white mineral blush that clouds pavers within 18 months of installation, and most Aventura homeowners read it as damage. It isn’t. It’s a curing byproduct, salt migrating to the surface as moisture moves through the slab, and the instinct to strip the sealer and start over is exactly the wrong response. In Aventura, where salt spray off the Intracoastal speeds the process along, that misunderstanding costs more driveways than traffic ever will. This guide hands over the maintenance sequence most installers never walk you through at closeout: sealer types by paver finish, the June-to-October rainy-season calendar, joint sand cycles, weed windows, and the pressure limits that keep cleaning from turning into erosion.
Quick Answer
Driveway pavers in Aventura need three things on a schedule: a solvent-based acrylic or polyurethane sealer resealed every 2 to 3 years depending on finish, polymeric joint sand topped off each spring before the June-to-October rainy season, and cleaning capped at 1,200 to 2,000 PSI for most pavers and lower for smooth-face stone. Efflorescence should be treated with a mineral-removing cleaner, not stripped, unless a sealer is genuinely failing. The single biggest failure driver here isn’t traffic load. It’s the chemical and thermal cycle of coastal South Florida acting on a sealer that was never recalibrated for it.
Styles & brands we work with
- Kitchen remodeling
- Bathroom remodeling
- Home additions & ADU
- Roofing
- Windows & doors
- Driveway & pavers
- Fence
Table of Contents
- Why Aventura Driveways Age Differently Than Inland Pavers
- The Bi-Annual Sealer Inspection Schedule for Aventura
- Efflorescence vs. Real Salt Damage: How to Tell the Difference
- Joint Sand Replenishment: Why Aventura Runs a Tighter Cycle
- South Florida Weeds and the Pre-Emergent Window
- Pressure-Washing Limits by Paver Type
- The Aventura Seasonal Calendar
- Common Mistakes to Avoid
- When to Call a Professional
- Frequently Asked Questions
Why Aventura Driveways Age Differently Than Inland Pavers
A paver driveway in Aventura lives under a stress cycle that has no equivalent 40 miles inland. The June-to-October wet season dumps rain in sudden, heavy bursts that soak joints and saturate the bedding layer, then the dry-season UV index climbs and bakes the surface dry. That expansion-and-drying rhythm repeats dozens of times a year, and every cycle works on the sealer film. Inland, the temperature swings are bigger but slower and drier. Here, the moisture load runs high almost year-round, and the sun does its damage fast in the dry months.
Salt spray from the Intracoastal adds the second variable. Airborne salt settles on the surface, dissolves in rain or irrigation water, and gets drawn into the paver pores, where it recrystallizes as the surface dries. That is the mechanism behind efflorescence. It’s also why a sealer that performs well on a Weston or Miramar driveway can look chalky and tired on one in Aventura within two summers. The sealer is doing a job it wasn’t specified for.
None of this means pavers are the wrong choice. It means maintenance has to be calibrated to the place. Communities across Aventura, from the Country Club side to Waterways and the condos along Biscayne Boulevard, sit on the same moisture and sun schedule. The checklist below works because it treats that schedule as the starting point rather than a generic national one.
What drives the timeline
- Wet-season saturation: June through October, joints and bedding take on water repeatedly, softening polymeric sand binder steadily.
- Dry-season UV: the strongest sun of the year hits the sealer when moisture is lowest, and that’s when the film cures fastest and starts to craze.
- Salinity: salt settles on the surface and moves inward with water, accelerating mineral migration.
- Irrigation overspray: sprinkler heads aimed at the drive add water beyond what rain supplies, and that extra load shortens sealer life.
Together those four factors move the maintenance cycle about 30 to 40 percent tighter than what a standard paver manufacturer’s care sheet assumes. That’s the whole thesis of this checklist. The rest is scheduling and product choice.
The Bi-Annual Sealer Inspection Schedule for Aventura
You don’t reseal on a fixed clock. You inspect twice a year and reseal when the test tells you to. That distinction saves money and avoids over-sealing, which is a real failure mode. Here’s the schedule we recommend for Aventura homeowners and the field tests to run at each checkpoint.
- Inspect in October, just after the rainy season closes. Look for milky patches, flaking film, and joints where the sealer has worn to bare stone. This is the post-stress checkpoint.
- Inspect in April, before the wet season reopens. Check film integrity and joint sand depth. This is the pre-load checkpoint, and it’s when top-offs go in.
- Run the water-drop test at each inspection. Drop a spoonful of water on a representative paver. If it beads and sits, the sealer is intact. If it soaks in within a minute, the film is gone on that section.
- Reseal solvent-based acrylic every 2 to 3 years for tumbled and textured pavers, and read the label before you buy.
- Reseal polyurethane every 3 to 4 years on smooth-face or polished surface pavers, which are more common on decorative driveways in the condo-adjacent Aventura neighborhoods.
Choosing the right sealer by paver finish
Tumbled and textured pavers, the most common surface on residential driveways here, take a penetrating or film-forming solvent acrylic well because the texture holds the film. Smooth-face pavers and polished stone want a polyurethane film sealer, which resists UV yellowing better and doesn’t chalk as fast in the sun. Brand matters here: Belgard, Unilock, Tremron, Techo-Bloc, and Cambridge Pavers each publish a sealer recommendation for their specific lines, and following the manufacturer’s guidance protects the surface warranty. When we install a hardscape job, part of the closeout is naming the sealer that matches the pavers we laid.
Two product rules apply in Aventura regardless of finish. Use only solvent-based sealers, because water-based films dissolve in the wet-season moisture load and chalk within a season. And never apply sealer to a surface that’s still wet or to a day when rain is forecast. The masonry needs to be dry to a distinct line of color on the surface before the seal goes down.
Efflorescence vs. Real Salt Damage: How to Tell the Difference
This is the distinction that saves driveways. Efflorescence is a white, powdery, or slightly crystalline bloom on the surface of the paver. It appears as the moisture dries and the salt deposits on the surface. You can wipe much of it away with a dry brush or a light rinse. Real salt crystallization damage is different. It eats into the paver, and the surface becomes rough, pitted, or crumbly at the edges. It doesn’t wipe clean. It’s structural damage, and it won’t go away with a cleaner.
The wipe test
Take a dry brush to a small patch. If the white comes off and leaves a clean paver underneath, it’s efflorescence and it’s manageable. Leave the sealer alone. If the white is stubborn, get a mineral-removing cleaner, apply it with a soft broom, leave it to work, and rinse it off. A homeowner should never need to strip a healthy sealer to deal with efflorescence. Stripping opens the pores back up, and that interrupts the curing the efflorescence is the byproduct of.
When it’s genuinely damage
If the surface is crumbling, the corners are chipping, or a white crust reappears within days of cleaning, that’s not curing anymore. That’s crystallization pressure pointing to a deeper issue: a bedding layer that’s trapping water, a sealer that’s failed, or a paver type mismatched to the site. That’s when cleaning stops being useful and a hardscape professional needs to look at the substrate. Cleaning is not the fix for substrate problems. It just hides them until the next rainy season.
The salt spray connection
Airborne salt is Aventura’s extra variable. It accelerates mineral migration because it’s already on the surface when the rain starts working. A homeowner who treats efflorescence as a defect strips the sealer, exposes the raw paver, and speeds the whole deterioration cycle along. The response to a wet-season bloom here is the mineral cleaner and patience, not a full strip and reseal.
Joint Sand Replenishment: Why Aventura Runs a Tighter Cycle
Polymeric sand is the joint filler between pavers, and it’s what keeps the surface from shifting and weeds from rooting. In Aventura, the June-to-October rains wash it harder than inland markets see. Standard polymeric sand can hold for years in dry climates, but heavy tropical rain, as we see it head-on, will carry sand out of the joints fast. That means Aventura needs a joint-sand top-off roughly every 12 to 18 months, and a full polymeric sand replacement is realistic around the three-to-four-year mark on a drive that gets real use. Inland, that cycle might stretch to five.
Signs you need to top off now
- Visible gaps at the joint lines, deep enough to catch a fingernail.
- Weeds rooting in the joints before you’ve done anything.
- Loose sand on the surface after rain, in a pattern running down the drive slope.
- Pavers that rock or shift when you step on a corner.
Polymeric vs. plain sand in Aventura
Polymeric sand cures to a firm, somewhat flexible joint and resists washing better than plain sharp sand. That’s why it’s the right call in the Aventura climate. Plain sand washes out faster, and you end up replacing it more often than the polymeric product. When the joints get topped off, use polymeric sand, sweep it into the joints, compact it, and let it cure dry before the rainy season arrives. Doing it in the dry season gives it time to set. Doing it in June and July is a race the homeowner usually loses.
Manufacturer guidance from Belgard, Tremron, Unilock, and Techo-Bloc all publish a specific polymeric product for their paver lines, and the joint material matters for warranty. A hardscape contractor following install best practice will use the matching product, not whatever bag is on the shelf.
South Florida Weeds and the Pre-Emergent Window
Two weeds dominate paver joints in Aventura, and both are worth knowing by name. Torpedo grass spreads underground and creeps through the joint material; it won’t come up from a surface pull. Dollarweed roots at every node along a creeping stem and shows up as a broad, round leaf colonizing the damp joint lines. Both love the wet-season moisture and both will fill the joints of an unsanded drive. The fix is a pre-emergent application scheduled against the wet season, not a fight with a weed puller after the fact.
The application window
- Apply a granular pre-emergent in late April or early May, before the June rains open the wet season and before weeds germinate.
- Water it in gently, following the product label, to carry it into the joint sand.
- Keep the joints topped with polymeric sand. A full joint is the first defense because weeds need light and space to root.
- Pull dollarweed by the stem, not the leaf, when it does show. Manual removal works only with joints intact.
- Re-apply the pre-emergent at the recommended product interval, which for most products lands you at another spring checkpoint the next year.
Torpedo grass needs patience
Torpedo grass is the harder one. Because it spreads underground, surface pre-emergent alone won’t stop it. The right sequence is pre-emergent to limit germination plus physical removal of the underground runners at the joint line, and, where it’s already established, a targeted post-emergent product. That’s not a homeowner’s casual weekend task. If the drive is overrun, a hardscape professional with the right post-emergent and a plan to reset the joint sand is the more efficient route.
Weed pressure here is high enough that an Aventura driveway with no pre-emergent program will look overgrown by August. That’s a scheduling problem, not a bad-luck problem.
Pressure-Washing Limits by Paver Type
Pressure washing a paver driveway is where well-intentioned homeowners cause the most damage. The safe answer is: keep the pressure low, keep the wand moving, and use a wider nozzle. Exceed the surface’s tolerance and the paver’s top layer erodes, the joint sand blows out, and the surface looks clean for a week before it starts to fail.
Use these broad limits as a starting point and always read the paver manufacturer’s own guidance:
| Paver type | Typical pressure limit | Notes |
|---|---|---|
| Tumbled / textured concrete pavers | Up to 2,000 PSI | Most common on Aventura residential driveways |
| Smooth-face concrete pavers | 1,200 to 1,500 PSI | Lower limit; risk of surface etching |
| Clay pavers | 1,000 to 1,200 PSI | Clean only when the surface is dry |
| Natural stone and travertine | 800 to 1,200 PSI | Softer surfaces; never use a turbo tip |
The right technique
- Use a fan-tip nozzle, not a turbo or zero-degree tip, and hold the wand at a shallow angle to the surface.
- Work in overlapping strips and keep the wand moving; never let the jet dwell in one spot.
- Clean joints only after the pavers themselves are done, and keep the jet out of the joint lines to protect the polymeric sand.
- Rinse with clean water after the cleaning to flush out residue and any dislodged sand.
- Wait for the surface to dry fully before resealing, and for the cleaning to be complete before the rainy season if you’re on schedule.
If a drive has a failing sealer, a heavy efflorescence buildup, or a stubborn stain on a natural-stone surface, the PSI question gets sharper. A pro will use the right chemistry (a dedicated paver cleaner or mineral remover) rather than cranking up the pressure. In our experience, most paver damage we see after a DIY cleaning went wrong traces back to a turbo tip and too much pressure, not to the cleaner.
The Aventura Seasonal Calendar
This is the checklist condensed into a season-by-season plan. It assumes a driveway installed with matching Belgard, Unilock, Tremron, Techo-Bloc, or Cambridge Pavers, and it’s sequenced around Aventura’s wet and dry seasons rather than a generic four-season calendar.
Spring (March to May)
- Inspect sealer film, run the water-drop test, and plan any reseal for the dry stretch.
- Top off joint sand with polymeric sand before the June rains.
- Apply pre-emergent in late April or early May.
Wet season (June to October)
- Watch the joints for washout after heavy rain and note any low spots.
- Treat any efflorescence with a mineral cleaner as it appears; don’t panic and strip.
- Keep downspouts and irrigation aimed away from the drive, where practical.
Post-season (October to November)
- Post-season sealer inspection and second water-drop test.
- Plan the reseal if the film is gone on any section.
- Re-check joints for sand depth after the final heavy rains.
Dry season (December to March)
- Reseal if the inspection called for it, on dry days with no rain forecast.
- Pull any weeds by the stem and recheck joint lines.
- Note any pavers that are rocking or shifting for professional review.
Common Mistakes to Avoid
- Stripping a healthy sealer to treat efflorescence. The sealer is what’s keeping the paver from absorbing salt in the first place. Strip it and you accelerate every problem this checklist addresses.
- Using a high-pressure turbo tip on a paver surface. It erodes textured and smooth pavers alike and blows polymeric sand out of the joints. Pressure washing should clean the stone, not expose the bedding.
- Skipping joint sand through the rainy season. That’s the failure Aventura homeowners fall into most; a full joint is what keeps the pavers from shifting and weeds from rooting.
- Water-based sealer on a South Florida driveway. It holds up far worse through the June-to-October moisture load than a solvent-based product, and it chalks fast.
- Sealing in the wet season or on a wet surface. The seal needs a dry surface or it will fail, and applying it in the wet months gives it no curing window.
- Treating torpedo grass like a surface pull. It spreads underground and will come back unless the joint sand and pre-emergent plan are both handled.
- Ignoring irrigation overspray on the drive. More water is not better; extra water from sprinkler heads on the pavers cuts sealer life and worsens mineral migration.
See the difference
 Before
 After
 Before
 After
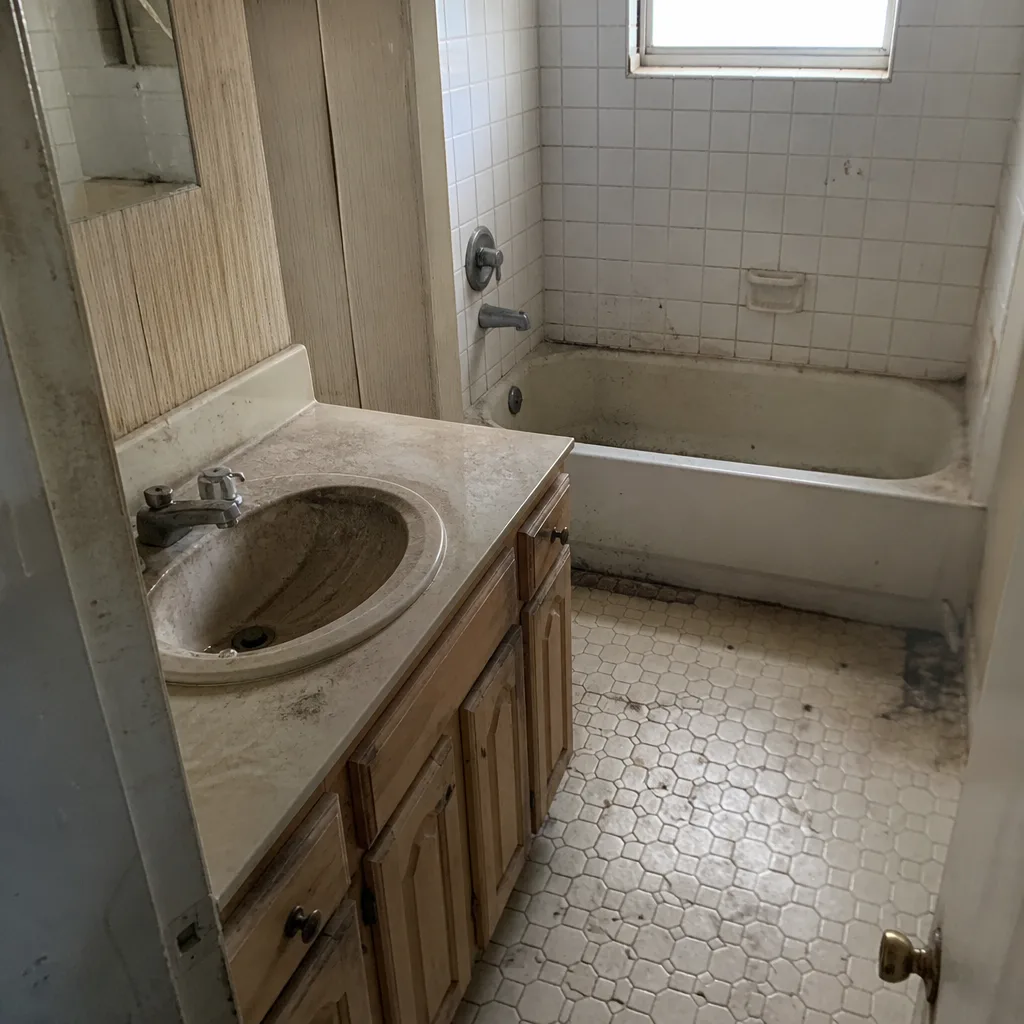 Before
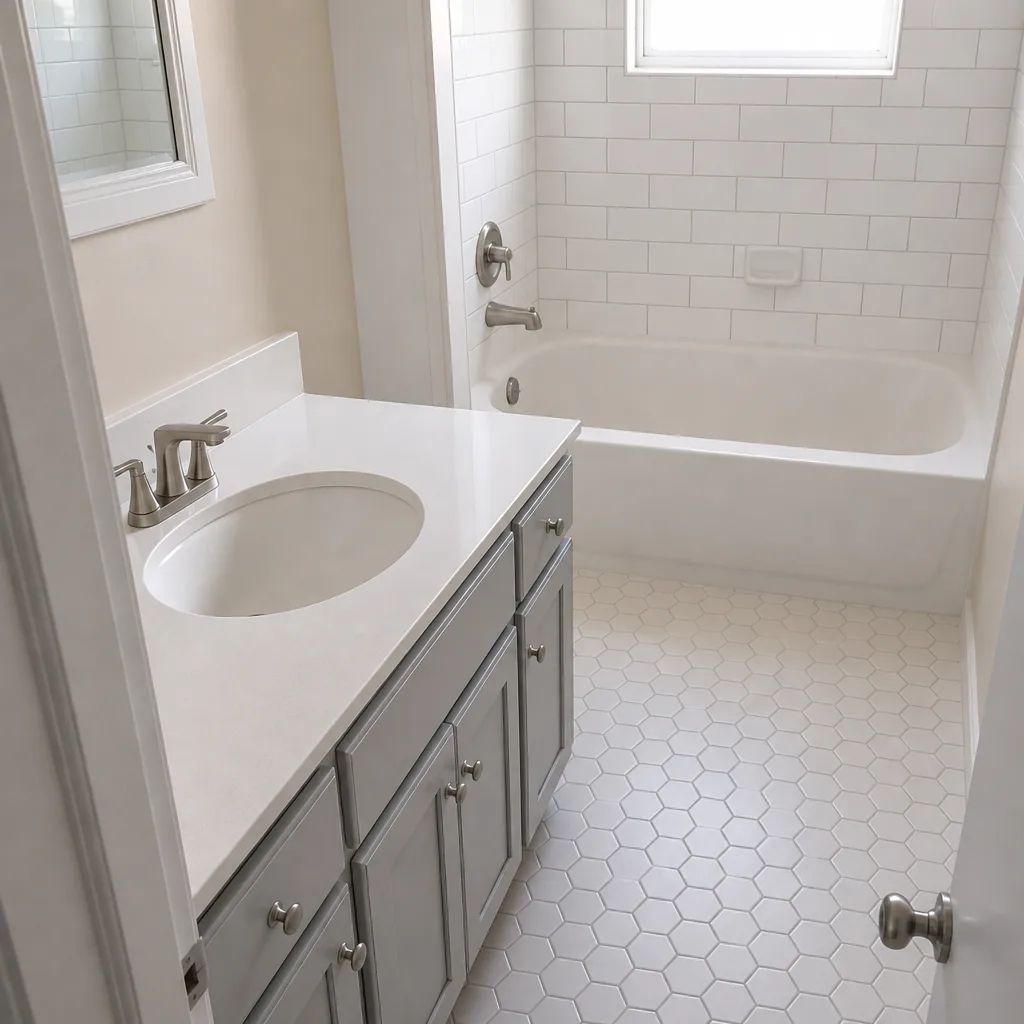 After
When to Call a Professional
Some paver problems are maintenance and some are substrate. Call a professional if pavers are rocking or settling, if the joints are holding water after rain, if efflorescence keeps returning within days of cleaning, or if a full strip-and-reseal is on the table after a failed sealer. Those are signs the bedding layer, the drainage, or the joint material needs evaluation, not more product. A hardscape professional can assess the substrate and rebuild the joint structure accordingly. When your drive needs more than upkeep, a full replacement or redesign falls under driveway & pavers scope, and if the property has gating or a perimeter concern, fence installation can be scoped at the same time. Construction Aventura offers free estimates in Aventura. Call (833) 620-6514 to schedule.
Frequently Asked Questions
Reseal solvent-based acrylic every 2 to 3 years on tumbled and textured pavers, and polyurethane every 3 to 4 years on smooth-face or polished stone. Because of the Aventura wet-season moisture load and salt spray, inspect twice a year and reseal based on the water-drop test rather than a fixed clock. Call (833) 620-6514 for a professional evaluation if your sealer is failing.
Usually not. Efflorescence is a curing byproduct, the salt migrating to the surface as moisture moves through the slab, and in Aventura it shows up faster because of airborne salt and heavy rain. Wipe it with a dry brush; if it comes clean, treat it with a mineral-removing cleaner and leave the sealer intact. If the surface is pitted or crumbly, that’s salt crystallization damage and worth a professional look. Call (833) 620-6514 for a free estimate.
The June-to-October rainy season dumps heavy tropical rain on a concentrated schedule, and that washes polymeric sand out faster than inland climates. Plan a joint-sand top-off roughly every 12 to 18 months and a full polymeric sand replacement around the three-to-four-year mark on a well-used drive. It’s scheduled maintenance, not a defect.
Yes, at the right pressure. Use a fan tip, keep the wand moving, and stay under about 2,000 PSI on textured pavers and under about 1,200 to 1,500 PSI on smooth-face and natural stone. Never use a turbo tip, and keep the jet off the joint lines. If a drive has failing sealer or stubborn mineral buildup, a professional surface cleaning is worth the call. Call (833) 620-6514 for a free estimate.
Torpedo grass and dollarweed are the two most common here. Torpedo grass spreads underground and needs more than a surface pull; dollarweed roots at every node along its stem and needs removal by the stem, plus a pre-emergent applied before the June wet season. A full joint of polymeric sand is the first defense.
Yes, and that matters for warranty coverage. Our hardscape scope includes Belgard, Unilock, Tremron, Techo-Bloc, Cambridge Pavers, and Oldcastle, plus the manufacturer-recommended sealers and joint sand for each line. Our technicians have up to 15 years of experience and can assess a maintenance plan against the specific pavers on your property. Call (833) 620-6514 for a free estimate.
The Bottom Line
Aventura driveways don’t fail from traffic load. They fail from the salt and thermal cycle of coastal South Florida acting on a sealer that was never recalibrated for the place. Treat efflorescence as a curing byproduct and clean it, don’t strip. Top off polymeric joint sand every 12 to 18 months and reset it on a three-to-four-year cycle. Run a pre-emergent in late April or early May, before the June rains. Inspect the sealer in October and April and reseal when the water-drop test says to. And keep the pressure washing under 2,000 PSI on textured pavers and under 1,500 on smooth. A maintenance sequence run against the right calendar is what makes a paver driveway last. One contractor, every scope, from the roof down to the driveway: Construction Aventura offers free estimates in Aventura, with written line-item quotes, licensed and insured, and our technicians have up to 15 years of experience. When the drive is part of a larger exterior refresh, we can scope the other categories under one contract, including home additions & ADU work, all from the Construction Aventura team.
Contact Us
Call (833) 620-6514 for a free estimate. We answer 24/7. Fast dispatch from 7am to 7pm, Sunday through Friday. Whether you need a maintenance plan, a full reseal, or an evaluation of a driveway that’s already failing, we’ll walk the property and put the scope in writing. From the roof down to the driveway, Construction Aventura handles hardscape, roofing, fencing, windows and doors, kitchen and bath remodels, and additions under one contract, with brand partnerships across each trade. Your timeline, your material choices, our execution.
Written by the team at Construction Aventura.